Every carpenter, whether framing a house or installing intricate crown molding, relies on a core set of basic tools for a carpenter to get the job done right. These tools aren’t just about convenience—they’re the foundation of precision, speed, and safety on every worksite. From the first measurement to the final fastener, having the right tools ensures clean cuts, tight joints, and professional results. This guide walks you through the essential hand tools, power tools, measuring devices, clamps, safety gear, and organization systems every carpenter needs—whether you’re just starting out or refining your toolkit. You’ll learn what to carry daily, how to choose quality tools, and when to invest versus rent.
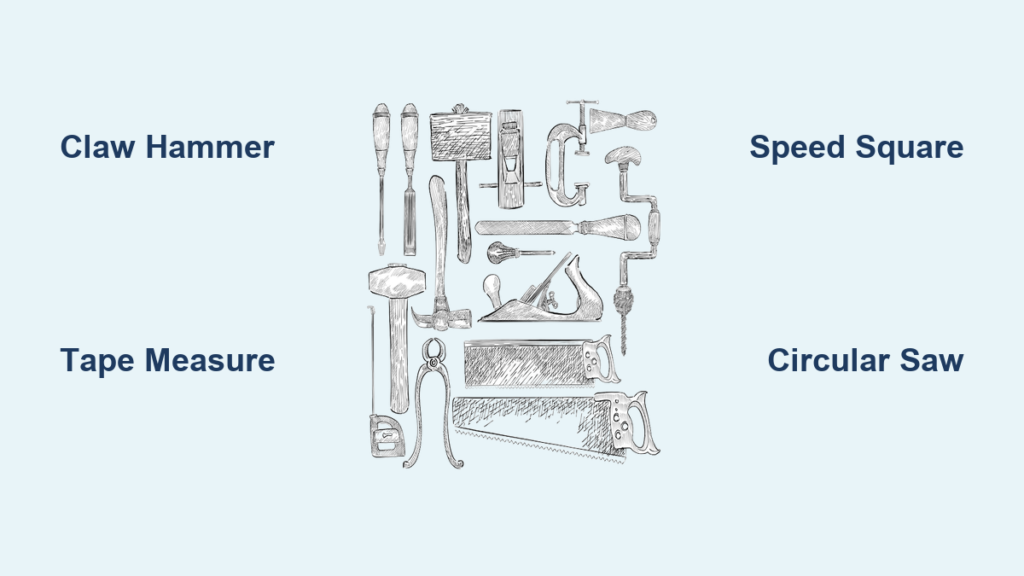
Core Hand Tools Every Carpenter Must Own
These are the tools that live on your belt or in your bag—used constantly and expected to endure drops, weather, and heavy use.
Claw Hammer: Match the Tool to the Task
Your hammer is your most personal tool. The right one balances weight, grip, and head type for your work.
- Framing hammers (20–22 oz): Built for driving long nails into thick lumber. The Estwing 22oz is a favorite—forged from one piece of steel, it won’t break.
- Finish hammers (16–20 oz): Lighter and more controlled. The Douglas finish hammer is a pro favorite for trim work where precision matters.
- Titanium models (e.g., Stiletto): Lighter than steel, they reduce fatigue during long days of nailing.
Handle types:
– Hickory: Naturally shock-absorbent, reducing hand and elbow strain.
– Fiberglass/steel: More durable for prying but transmit more vibration.
– Rubber grip: Improves control, especially with gloves.
Pro Tip: A well-balanced 16oz hammer with practiced technique can outperform a heavier one. Avoid cheap hammers—the head will deform after repeated use.
Tape Measure: The Most Used Tool on Site
You’ll pull this out dozens of times a day. Accuracy starts here.
- 25-foot Stanley FatMax: The go-to for most carpenters. Its thick, Teflon-coated blade resists kinking and slides smoothly.
- 30-foot version: Better for large decks or open framing.
- Lufkin folding rule: Compact alternative for tight spaces.
What to look for:
– Hook (tab): Should move freely to compensate for its thickness—this ensures accurate inside and outside measurements.
– Blade width: A 1″ blade stays rigid when extended.
– Markings: Large, dual-scale (imperial and metric), easy to read in low light.
Warning: A bent or loose hook can throw off every measurement by 1/8″ or more. Test it before buying.
Utility Knife: Small Tool, Big Jobs
More than just for cutting tape, this tool is a multi-tasker.
- Retractable (Stanley): Safe and common for general use.
- Fixed blade (Irin, Olfa): Preferred by pros for durability and consistent edge exposure.
- Uses: Trimming shims, scoring drywall, sharpening pencils, cleaning joints.
Blade tip: Replace often. A sharp blade cuts cleaner and is actually safer than a dull one.
Expert Note: Keep a sharpening stone nearby. A honed utility knife performs better and lasts longer.
Speed Square: The Layout Powerhouse
No framing job is complete without a speed square.
- 6″ Swanson: Most popular—fits in your back pocket.
- Empire: Extruded aluminum—clearer markings and less brittle than cast models.
Functions:
– Mark 90° and 45° cuts.
– Guide circular saws for straight edges.
– Lay out rafters, stairs, and roof angles.
Pro Tip: Cut out the center triangle (from the hanging hole) so gloved fingers can grip through it—lighter and easier to handle.
Precision Measuring & Marking Tools

Accuracy separates amateurs from pros. These tools ensure every cut lands exactly where it should.
Combination Square: The Multi-Tasking Must-Have
Used for measuring, marking, and checking alignment.
- 6″ or 12″: The 6″ is most practical for daily use.
- Metal head only: Avoid plastic—it warps and cracks.
- Locking mechanism: Must stay tight under vibration.
Uses:
– Scribe parallel lines.
– Check if edges are square.
– Measure depth of dadoes or mortises.
Buyer Tip: Test the lock at the store. If it wiggles, skip it.
Framing Square: Big Jobs Need Big Layouts
For laying out stairs, rafters, and large assemblies.
- Steel construction: Built to last decades.
- Stair gauges: Attach to mark repeated riser and tread dimensions.
- Japanese thin stainless models: Flexible enough to conform to uneven surfaces—great for restoration work.
Level: Keep Everything True
A crooked cabinet ruins a job. Levels prevent that.
- Torpedo (8–9″): Fits in tight corners, hangs on nails.
- 2′ and 48″: Standard for walls, floors, and cabinets.
- 6′: Used in commercial framing but often overkill.
Bubble vials: Must be accurate. Test by flipping the level—bubbles should align in both directions.
Pro Tip: Longer levels detect subtle deviations better. A 48″ level finds warps a 2′ level will miss.
Chalk Line: Long, Straight Marks Fast
When lasers fail or batteries die, chalk lines deliver.
- Blue chalk: Temporary, low visibility—good for deck layouts.
- Red/green oxide: Permanent, bright—ideal for concrete or subfloors.
- Retractable with hook: Ensures consistent tension.
Old-School Hack: Japanese inkline with pin instead of hook—prevents slippage on slick surfaces.
Cutting & Shaping Tools
From rough framing to fine joinery, these tools shape wood with control.
Chisel: The Carpenter’s Scalpel
Essential for cleaning joints, mortising, and fine-tuning fits.
- 1″ chisel: Most versatile—fits standard door hinges and strike plates.
- Assortment (¼” to 1½”): Needed for varying joint sizes.
- Corner chisel: Acts like a punch for square holes.
Blade specs:
– High-carbon or chromium-vanadium steel.
– Bevel ground at 20°–25° on one side, flat back.
Handle: Hardwood with metal cap to withstand mallet strikes.
Maintenance: Keep it razor-sharp. A dull chisel tears wood and increases effort.
Block Plane: Smooth Joints, Fit Trim Perfectly
Used to fine-tune door edges, scribe baseboards, or chamfer corners.
- Stanley No. 60½: Classic design, adjustable mouth for fine shavings.
- Japanese block planes: Low-angle, self-adjusting, excellent for end grain.
Key feature: Adjustable throat controls chip size.
Pro Tip: Use with a honing guide. A sharp plane makes handwork satisfying, not frustrating.
Sliding Bevel (T-Bevel): Copy Any Angle
No protractor? No problem.
- Locks at any angle.
- Transfers bevels from one board to another.
- Critical for roof pitches, crown molding returns, and irregular joints.
Pro Tip: Mark the handle to remember common angles like 22.5° or 33.7° (standard stair pitch).
Fastening & Adjusting Tools
Driving, removing, and adjusting fasteners is half the job.
Nail Set (Punch): Finish Like a Pro
Sinks nail heads below the surface so they can be filled and painted.
- Multiple sizes: Match to nail diameter.
- Convex tip: Grips the nail head without slipping.
- Hardened steel: Won’t mushroom under hammer blows.
Why it matters: Exposed nail heads look unprofessional and can snag clothing.
Screwdriver: More Than Just Bits
While drills dominate, screwdrivers still have their place.
- 6-in-1 multi-tip: Combines flathead, Phillips, Robertson (square), and others.
- Cabinet screwdriver: Thin shank reaches deep into tight spaces.
- Ratcheting model: Increases speed without removing the bit.
Material: Hardened steel only—cheap drivers strip under torque.
Pro Tip: Robertson (square) bits are superior—less cam-out, better grip.
Cats Paw: Extract Nails Without Destroying Wood
Also known as a nail puller.
- 6″: Daily carry for small fixes.
- 12″: Heavy-duty removal during demo.
- Estwing catspaw: Nearly indestructible one-piece forged steel.
Technique: Rock it sideways to loosen the nail before pulling straight.
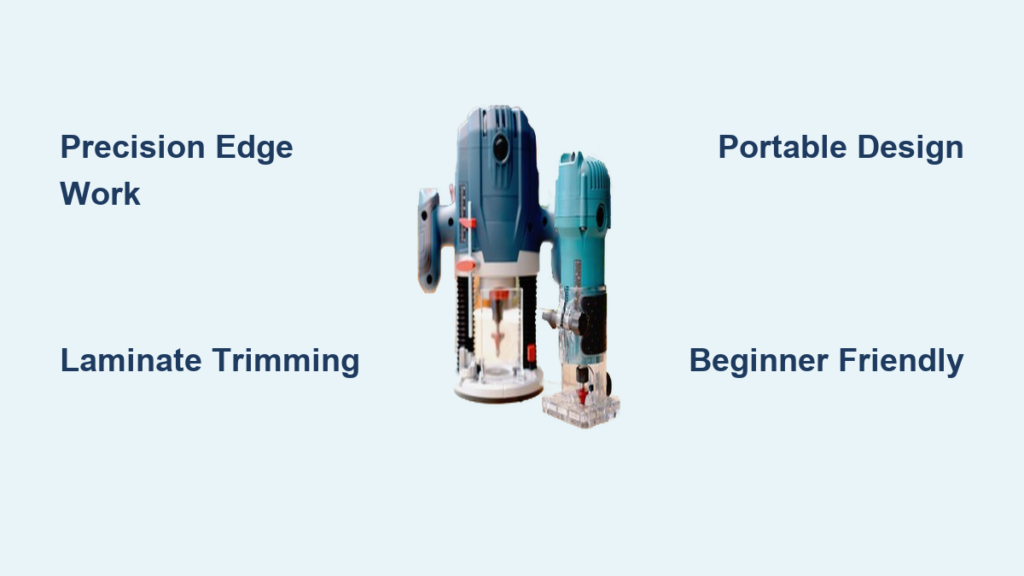
Power Tools That Define Modern Carpentry
![]()
Hand tools build character, but power tools build houses—fast.
Circular Saw: The On-Site Cutter
The backbone of framing and rough cuts.
- 18V cordless or corded: Cordless offers mobility; corded delivers uninterrupted power.
- Blade diameter: 7½”, 10″, or 12″. 10″ balances depth and portability.
- Blade types:
- 24–80 TPI combo blade: Best all-rounder.
- Rip blade: Aggressive gullets for fast lumber cuts.
- Plywood blade (80+ teeth): Minimizes tear-out on veneer.
Pro Tip: Clamp a straight edge and run the saw base against it for laser-straight cuts.
Drill/Driver: Drive Screws, Drill Holes
The most-used power tool on any site.
- 18V platform: Standard for most pros.
- Chuck size: 3/8″ for general use, ½” for lag bolts and heavy fasteners.
- Features: Variable speed, clutch control, LED light.
Pro Tip: Use a magnetic bit holder—it saves countless dropped bits.
Impact Driver: Torque Monster
For driving long screws and structural fasteners.
- High torque, compact size: Fits in tight spaces.
- 1/4″ hex collet: Accepts common driver bits.
- Uses: Decking screws, lag bolts, subfloor fasteners.
Warning: Never use in drill mode. It lacks clutch control and will strip heads.
Reciprocating Saw (Sawzall): Demolition King
For tearing out old framing, pipes, or nails.
- Blade types: Wood, metal, bi-metal.
- Orbital action: Aggressive cutting in soft materials.
- Compact models: Fit in tight crawl spaces.
Pro Tip: Use a short, aggressive blade for nails-in-wood demolition.
Miter Saw: Precision Crosscuts
Essential for trim, molding, and finish work.
- 10″: Handles most 6″ lumber.
- 12″: Greater capacity for wide boards.
- Sliding arm: Increases crosscut width (e.g., 12″ on 2x12s).
Hard stops: At 15°, 22.5°, 30°, and 45°—speeds up repetitive cuts.
Pro Tip: Use a laser guide or shadow line for dead-on accuracy.
Clamps & Holding Tools
You can’t glue or assemble without clamps. They’re silent partners in every build.
Bar Clamps (F-Clamps): Strong, Reliable Pressure
Available in 6″, 12″, 24″, and 48″.
- Use: Gluing panels, assembling cabinets, holding joints.
- Pad jaws: Protect finished surfaces.
Pro Tip: Buy extras. You always need one more clamp than you have.
Pipe Clamps: Adjustable Length
Use threaded pipe as the bar—cheap and extendable.
- Ideal for long glue-ups: Tabletops, wide doors.
- Requires pipe: Buy high-quality threaded pipe to avoid bending.
Quick-Grip Clamps: One-Handed Convenience
Spring-loaded handle lets you clamp with one hand.
- Best for light-duty tasks: Holding trim while nailing.
- Not for heavy glue-ups.
Pro Tip: Keep a set of hand screw clamps for tapered or irregular pieces—they distribute pressure evenly.
Safety Gear: Non-Negotiable Protection

No tool list is complete without safety.
Safety Glasses: See Clearly, Stay Safe
- Prescription-compatible (e.g., eSunglasses): Critical for those who wear glasses.
- Wraparound style: Protects from flying debris from the sides.
Rule: Wear them always—even during measuring.
Hearing Protection: Save Your Ears
- Earplugs + over-ear muffs: Dual protection on noisy sites.
- Note: Noise-canceling headphones ≠ hearing protection.
Respirator: Breathe Clean Air
- 3M with replaceable cartridges: Use pink 100 filter for fine wood dust.
Pro Tip: Wood dust is a known carcinogen. Never sand without filtration.
Push Stick: Table Saw Savior
- Big Horn model: Durable, ergonomic.
- Function: Keeps hands away from the blade during narrow cuts.
Golden Rule: Never use your hand within 6″ of a spinning blade.
Tool Storage & Organization
A disorganized tool belt slows you down.
Tool Belt: Carry What You Need
- Mid-range (e.g., Bunnings $100 model): Durable, balanced pockets.
- Upgrade as needed: Leather belts last longer but cost more.
Layout: Hammer on strong side, tape measure on weak side, knife front center.
Tool Bag & Pegboard: Stay Organized
- Occidental Leather: Known to last 20+ years.
- Pegboard: Mount over workbench—cutouts so you know what’s missing.
Pro Tip: Make your workbench narrow enough to reach the back wall easily.
Final Checklist: The Carpenter’s Core 10
Here are the basic tools for a carpenter you should own first:
- Claw Hammer (20oz framing or 16oz finish)
- 25-foot Tape Measure (Stanley FatMax)
- Speed Square (6″ Swanson or Empire)
- Utility Knife (Irin or Olfa)
- Combination Square (6″, metal)
- Circular Saw (10″, 18V or corded)
- Drill/Driver (18V, ½” chuck)
- Level (2′ and torpedo)
- Chalk Line (with red and blue chalk)
- Tool Belt (durable, well-organized)
Final Note: Mastering carpentry isn’t about owning every tool—it’s about knowing how to use the right ones well. Start with the basics, add as you grow, and prioritize quality, safety, and organization. With this toolkit, you’re ready for any job, from framing a wall to installing crown molding. Keep your tools sharp, your measurements accurate, and your mind focused—and you’ll build a career that lasts.