Your weed trimmer’s line suddenly stops feeding mid-job, leaving stubborn patches of grass uncut while you struggle with tangled string. This frustrating scenario happens to countless homeowners every mowing season, but the solution is simpler than you think. Knowing how to thread a weed trimmer properly ensures consistent cutting performance and prevents the headache of constant line jams. Whether you’re using a gas-powered model for heavy-duty clearing or a lightweight battery trimmer for yard edges, mastering this essential maintenance task saves time and money while extending your equipment’s lifespan. A properly threaded trimmer delivers clean cuts through thick grass and weeds without constant stops to untangle or replace line.
Most trimmer malfunctions stem from incorrect line threading rather than mechanical failure. The high-speed rotation of monofilament line—typically between 0.065 to 0.095 inches in diameter for residential models—requires precise installation to function correctly. When you understand how different trimmer heads operate and follow the right threading sequence, you’ll spend less time fixing problems and more time maintaining a pristine lawn. This guide shows you exactly how to thread a weed trimmer for any model, with specific instructions that eliminate guesswork and get you back to trimming immediately.
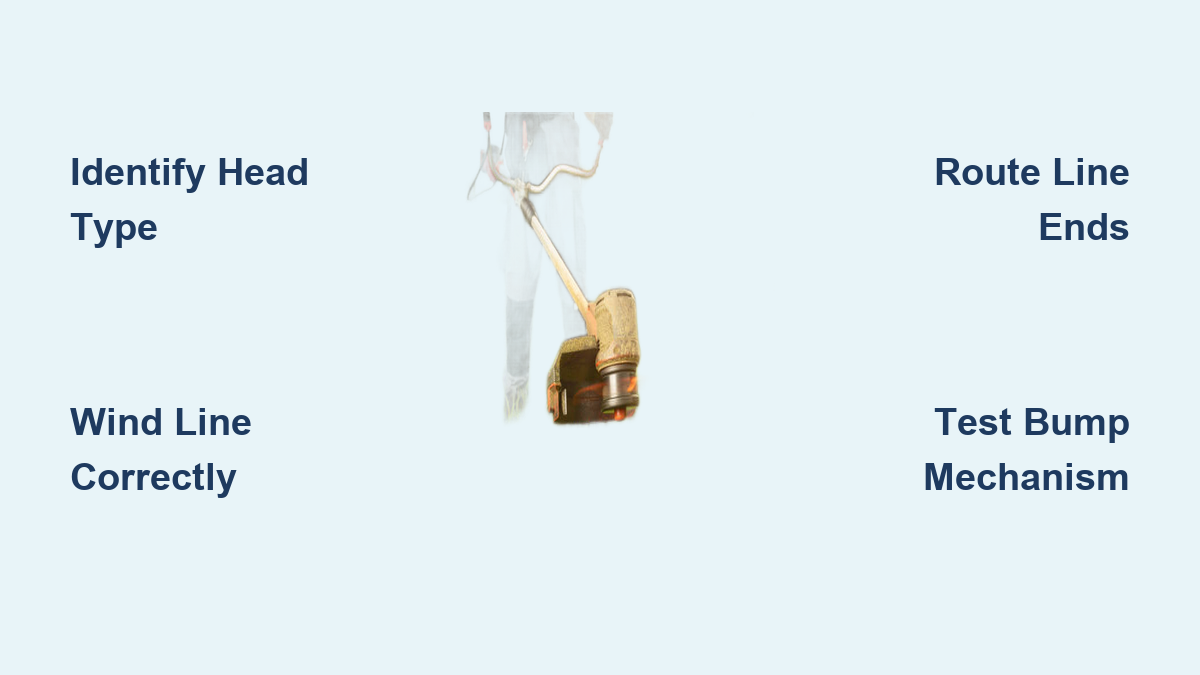
Identify Your Trimmer Head Type First

Before touching any line, determine which of these four common head types your trimmer uses—this decision affects your entire threading approach and prevents wasted effort on incompatible techniques.
Fixed-line heads appear on budget trimmers with pre-installed stationary line segments that can’t be advanced. When these wear down, you must completely replace the head assembly rather than reloading line. Look for small screws or clips holding short line pieces in place—if you see these, purchase an exact replacement head rather than attempting to thread new line.
Bump-feed heads dominate residential gas and electric trimmers, featuring a spool inside the head with line ends extending through side holes. When you tap the head against the ground during operation, it releases more line automatically. These require precise winding direction and proper line anchoring to function correctly—winding backward causes immediate unraveling when you start the trimmer.
Automatic feed heads use internal sensors to detect when line shortens and automatically advance more without user intervention. These sophisticated systems need exact line placement according to manufacturer diagrams—often with specific winding patterns indicated by arrows on the spool. Check your owner’s manual for these critical details before loading line.
Fixed-mold heads contain pre-formed line channels instead of traditional spools, requiring you to press line segments into designated grooves. These heads maintain consistent line length as segments break off with use, eliminating the need for bumping or manual feeding. Look for molded channels radiating from the center—if your head has these, you’ll insert rather than wind the line.
Gather These Essential Threading Tools

Having the right supplies ready prevents mid-process frustration and ensures proper installation. Don’t attempt to thread your trimmer without these critical items:
- Correct diameter line matching your trimmer specifications (typically 0.080-0.105″ for gas models, thinner for electric)
- Sharp scissors or diagonal cutters for clean line cuts without fraying
- Needle-nose pliers to guide line through tight openings
- Work gloves to protect hands from sharp line ends
- Small flathead screwdriver for stubborn cover removal
- Your trimmer’s owner’s manual for model-specific diagrams
Pro Tip: Cut line at a 45-degree angle before threading—this creates a sharper point that feeds more easily through small openings and provides better initial cutting performance. Avoid pulling long sections from bulk spools that can tangle; work with 8-10 foot lengths for manageable handling.
Prepare Your Trimmer Head Properly
Safety must come first before handling any trimmer components. Always disconnect the spark plug wire on gas models or remove the battery from electric units—this prevents accidental starting that could cause serious injury during maintenance. Allow hot components to cool completely if the trimmer has been recently operated.
Examine your trimmer head for damage or debris before loading new line. Check feed holes for obstructions using a flashlight—if you see grass buildup or old line fragments, clean them with a small brush or compressed air. Inspect the bump knob for cracks that would prevent proper line feeding. If the head shows significant wear or damage, replace it entirely rather than risking poor performance with new line.
Measure and cut your line to the correct length specified in your manual—typically 15-25 feet depending on head capacity. Overfilling the spool is a common mistake that causes tangles and feeding problems. If your spool has directional arrows, note them now; winding in the wrong direction is the #1 cause of immediate line failure when you start the trimmer.
Follow These Exact Threading Steps
Remove the Trimmer Head Cover Correctly
Unscrew the bump knob counterclockwise (most use left-hand threads) and set it aside where it won’t roll away. Some models require pressing release tabs instead of unscrewing—consult your manual if unsure. Carefully remove the outer cover to expose the spool compartment without losing any internal springs or washers.
Wind Line in the Proper Direction
Locate the anchor hole on your spool and insert one end of your line, pulling through 6 inches. Critical step: Wind the line in the direction indicated by arrows on the spool—typically counterclockwise when viewing from above. Maintain even tension as you wind, creating tight parallel rows that fill only ¾ of the spool’s capacity. Overfilling prevents proper assembly and causes tangles.
Position Line Ends for Optimal Feeding
Leave 6-12 inches of line extending from the spool before reassembling. Route these ends through the designated exit holes, ensuring they’re straight and undamaged. Frayed ends catch in the mechanism and cause immediate feeding problems. For dual-line heads, confirm both ends extend equally—uneven lengths create vibration and poor cutting.
Reassemble and Test Before Use
Reattach the cover securely, then thread the bump knob back on clockwise until snug—not overtightened. Gently rotate the head to confirm it spins freely without binding. Pull the line ends to extend them to working length (typically 4-6 inches beyond the head). Test the bump mechanism at half throttle before full operation to verify proper line feeding.
Fix These Common Threading Problems Immediately

Tangling During Operation
Cause: Incorrect winding direction or overlapping turns
Solution: Completely rewind line with parallel, non-overlapping rows under consistent tension
Line Won’t Advance
Cause: Line welded at anchor point or improper positioning in exit holes
Solution: Replace line and ensure ends protrude correctly through feed holes
Frequent Line Breakage
Cause: Line too thick for your trimmer’s power or dragging against hard surfaces
Solution: Downsize line diameter and maintain proper cutting height above obstacles
Uneven Line Wear (Inner Line Depletes First)
Cause: Inconsistent winding tension or improper anchoring
Solution: Rewind with constant tension and verify secure anchor point
Maintain Your Trimmer for Long-Term Reliability
Inspect line before each use for nicks, fraying, or UV damage—replace at season start or after 25 hours of use. After trimming, remove grass buildup from the head assembly with a brush to prevent feeding issues. For winter storage, remove all line to prevent memory set and store spare line in a sealed container away from sunlight.
Safety Reminder: Freshly cut line ends are extremely sharp—always wear gloves during threading. Wear eye protection when cleaning the head assembly, as debris can become airborne. Never attempt threading with power sources connected—this simple precaution prevents serious accidents.
Threading by Trimmer Type: Gas vs. Electric
Gas trimmers typically use 0.080-0.105″ line in bump-feed heads—pay special attention to secure anchoring as vibration can loosen line. Electric models require thinner line (0.065-0.080″) to prevent motor strain; using line that’s too thick causes poor performance and premature wear. Battery-powered trimmers vary widely—match line diameter precisely to your model’s specifications, as undersized motors struggle with heavy line.
Mastering how to thread a weed trimmer properly transforms a common frustration into a quick 5-minute maintenance task. With the right tools, correct technique, and understanding of your specific trimmer head, you’ll achieve consistent cutting performance all season long. Keep spare line on hand, follow these precise steps each time, and you’ll spend less time fixing problems and more time enjoying a perfectly maintained lawn. The next time your line stops feeding, you’ll know exactly how to thread a weed trimmer correctly—no more guessing or wasted effort.
Leave a Reply