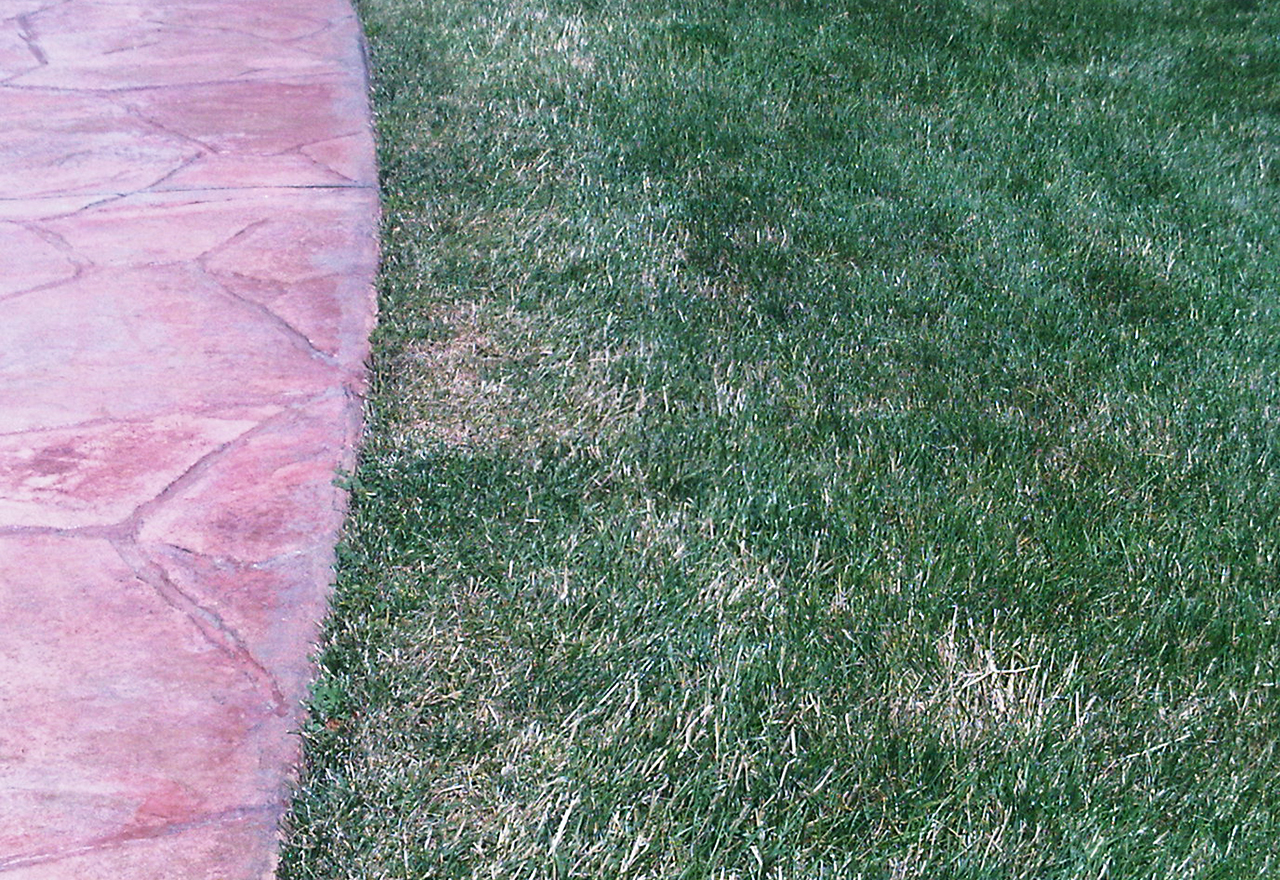
That ragged line where your lawn meets the sidewalk doesn’t just look messy—it invites weeds to invade your tidy grass and diminishes your home’s curb appeal. Your weed eater, often relegated to clearing hard-to-reach spots, can actually create razor-sharp lawn edges that make your entire yard look professionally maintained. Most homeowners waste money on separate edging tools when their existing string trimmer can deliver the same results with proper technique. Learning how to edge with a weed eater transforms your ordinary yard maintenance routine into a landscaping upgrade that takes less than an hour for most properties, costs nothing extra, and delivers immediate visual impact.
When done correctly, edging creates a clean separation between your lawn and hardscapes that prevents grass from creeping onto sidewalks and driveways while defining your property’s boundaries. This guide reveals the exact methods professional landscapers use to achieve clean lines with standard string trimmers—no special equipment required. You’ll discover how to select the right weed eater configuration, master the proper body positioning, avoid common pitfalls that ruin edges, and maintain your results between sessions. Whether you’re maintaining a small urban lot or a sprawling suburban property, these techniques will help you achieve crisp edges that make your lawn look meticulously cared for.
Select the Best Weed Eater Configuration for Edge Work

Your choice of weed eater significantly impacts edging quality and effort required, so understanding your tool’s capabilities prevents frustration before you start cutting.
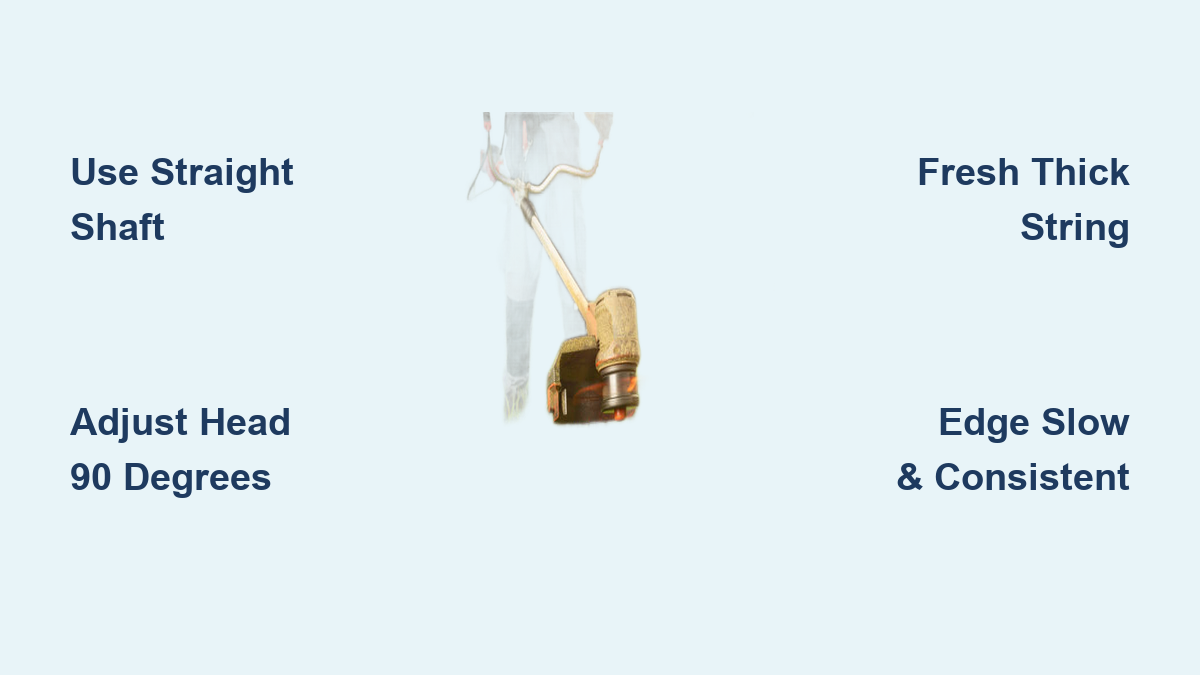
Straight shaft models deliver superior edging performance because the extended shaft positions the cutting head at the optimal angle for edge work without requiring excessive bending. The straight design provides better visibility of the cutting line, allowing you to follow edges precisely along sidewalks and driveways. Professional landscapers overwhelmingly prefer straight shaft trimmers for edging tasks as they combine reach with precision, making them ideal for long, straight edges where consistency matters most. If you edge frequently, investing in a quality straight shaft model pays off in reduced fatigue and improved results.
Curved shaft weed eaters can edge but require more technique refinement to achieve consistent results. The curved design bends near the cutting head, which makes maintaining a uniform angle challenging and often results in uneven edge depth. However, curved shaft models offer better maneuverability in tight spaces and around obstacles, making them suitable for small yards with intricate landscaping. If you already own a curved shaft trimmer, focus extra attention on maintaining a consistent angle and consider edging in shorter sections to build muscle memory before tackling larger areas.
Pro Tip: Weed eaters with built-in edging wheels and adjustable heads create the most consistent results with minimal effort. These specialized models feature a guide wheel that rolls along the pavement edge, automatically maintaining the proper depth and angle. If you edge weekly or have extensive hardscapes, the slightly higher cost of a dedicated edging model delivers professional results with less physical strain and time investment.
Convert Your Standard Weed Eater for Precision Edging
Most standard string trimmers require a simple adjustment to transition from trimming to edging mode—knowing how to make this conversion properly determines your edge quality.
Locate the rotation mechanism on your weed eater shaft, typically positioned near the handle or just above the cutting head. Push the release button or switch and rotate the head 90 degrees until you feel it click into edging position. The string should now rotate horizontally rather than vertically, creating a vertical cutting plane that slices cleanly along the edge of your lawn. If your model lacks a rotating head, tilt the entire trimmer to a 30-degree angle while keeping the string vertical—this technique requires more practice but works effectively with consistent pressure.
Critical Step: Install fresh string before edging, as worn line frays and creates ragged edges that brown quickly. Use the thickest string your model supports (typically .080 to .110 inches) for edging tasks, as heavier line maintains rigidity and cuts more efficiently through soil and shallow roots. Measure your cutting line to ensure both sides extend equally from the head—uneven string lengths cause vibration and inconsistent cutting.
Check that your cutting head spins freely without grass or debris buildup before starting. A quick maintenance check prevents frustrating interruptions mid-job and ensures smooth operation. For gas-powered models, verify you have adequate fuel mix; for electric models, ensure your battery is fully charged to avoid mid-job power loss when you’re halfway through your perimeter.
Execute the Professional Edging Technique in Four Steps
The difference between amateur and professional-looking edges comes down to body positioning, movement speed, and consistent pressure application—master these fundamentals for immediate improvement.
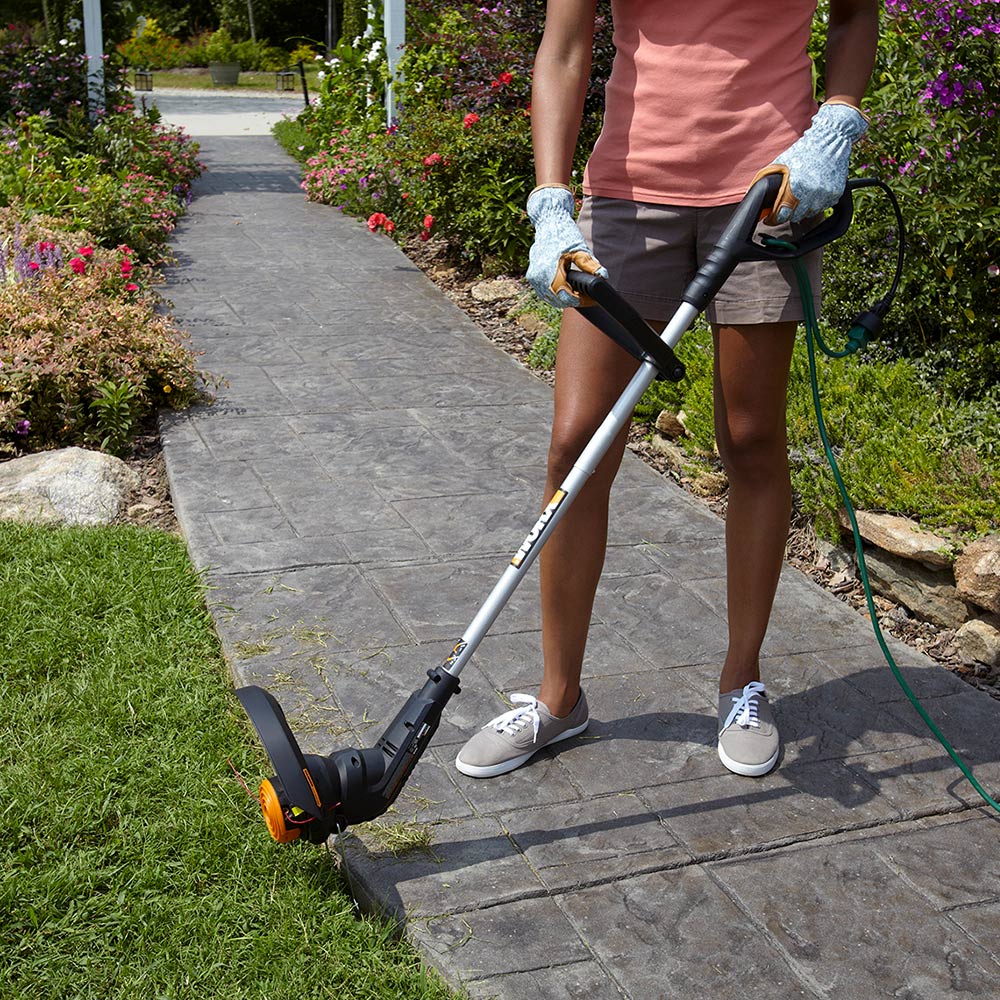
Stand with your leading foot closest to the edge you’re trimming and your back foot firmly planted behind you. Hold the trimmer with both hands, arms slightly bent to absorb vibration, and position the cutting head so the string barely kisses the soil along the edge—about one to two inches deep. Pushing deeper creates unsightly trenches that collect debris, while too shallow leaves grass blades standing. Warning: Excessive depth severs grass roots that spread outward from your main lawn, weakening turf health over time.
Move slowly in the direction of your natural swing—right-handed users should work left to right, left-handed users right to left. This directional approach gives better visibility of your cut line and prevents the trimmer from pulling away from the edge. Maintain steady throttle pressure and overlap each pass by about one inch to ensure complete coverage without visible seams. Pause every few feet to check your progress and adjust your angle if needed.
Pro Tip: For long, straight edges along sidewalks, use the concrete edge itself as your visual guide rather than looking directly at the cutting head. This technique improves straightness and prevents you from drifting off course. On curved edges around flower beds, take smaller, slower passes to maintain consistent depth through the turns.
Prevent These Five Costly Edging Mistakes
Even experienced homeowners make these errors that compromise edge quality and damage lawn health—recognizing them in advance saves time and preserves your landscape investment.
Edging when soil is too wet creates muddy ruts that require additional cleanup and compacts soil along your edges. Wait until the ground dries after rain or morning dew—dry soil holds its shape better for cleaner cuts. Edging too deeply severs grass roots that anchor your lawn, causing weak spots that invite weed invasion. Keep cuts shallow (just enough to define the edge) and refill any developing trenches with topsoil to maintain proper grading.
Using old or frayed string produces ragged grass tips that brown quickly, making your freshly edged lawn look unkempt within days. Fresh string cuts cleanly and seals grass blades as it severs. Replace your line at the start of each edging session—this five-minute task dramatically improves results. Neglecting a visual guide causes crooked edges that immediately identify amateur work; use the sidewalk’s edge, a taut string line, or a long board as your reference for the first pass.
Working at inconsistent speeds creates uneven edge depth—too fast leaves grass standing, too slow digs trenches. Maintain a steady, moderate pace that allows the string to cut cleanly without bogging down the motor. If you notice uneven results, slow down and focus on consistent movement rather than rushing to finish.
Maintain Edged Boundaries Between Sessions
Crisp edges don’t stay crisp forever—establishing a simple maintenance routine preserves your hard work with minimal ongoing effort.
Edge every two to three weeks during peak growing season (spring through early fall) to maintain clean lines before grass has time to creep significantly onto paved surfaces. In cooler months or drought periods, monthly edging suffices. Always edge after mowing rather than before—mowing first removes excess grass height and gives you a clearer view of the edge line. Wait one day after mowing to allow grass blades to recover slightly before edging, which reduces stress on the plants.
Refresh edges immediately after heavy rains or storms that wash soil onto sidewalks and blur your previously crisp lines. A quick five-minute touch-up restores definition and prevents small problems from becoming major cleanup projects later. Consider installing permanent metal or plastic landscape edging along high-traffic areas where grass consistently invades paved surfaces—this initial investment reduces future edging time by up to 50%.
Time-Saver: Combine edging with other lawn maintenance tasks to minimize equipment setup time. Many professionals edge immediately after mowing while all equipment is already out. Schedule edging on your calendar alongside mowing to ensure regular maintenance doesn’t slip through the cracks during busy seasons.
Keep Your Weed Eater Ready for Perfect Edges
Regular maintenance extends your weed eater’s lifespan and ensures reliable performance every time you need to edge—neglecting these simple steps leads to frustrating mid-job failures.
Inspect the cutting head before each use for string wear, debris buildup, and damage. Remove any wrapped grass, string fragments, or foreign objects that could affect rotation or cause imbalance. Check string spool tension—loose string tangles easily, while overly tight string strains the feed mechanism. Clean the air filter monthly by tapping out loose debris and washing with mild soap if necessary; a clogged filter reduces engine performance during extended edging sessions.
Replace worn string promptly, especially before major edging jobs. Store spare string in sealed containers to prevent moisture damage and UV degradation. For gas models, check the spark plug annually and replace it if electrodes show carbon buildup—a healthy spark plug ensures reliable starting when you need it most. Electric models require less maintenance but still benefit from regular cleaning of air vents and connection points.
Pro Tip: After each edging session, wipe down your weed eater with a dry cloth to remove grass clippings and soil that could cause corrosion. Store it in a dry place with the string head elevated to prevent moisture buildup in the cutting mechanism.
With these techniques mastered, your weed eater transforms from a simple trimming tool into a precision instrument for creating clean, professional-looking edges that elevate your entire landscape. Start with small sections to build confidence, focus on consistent technique rather than speed, and enjoy the immediate visual payoff of a beautifully edged lawn that boosts your home’s curb appeal.
Leave a Reply