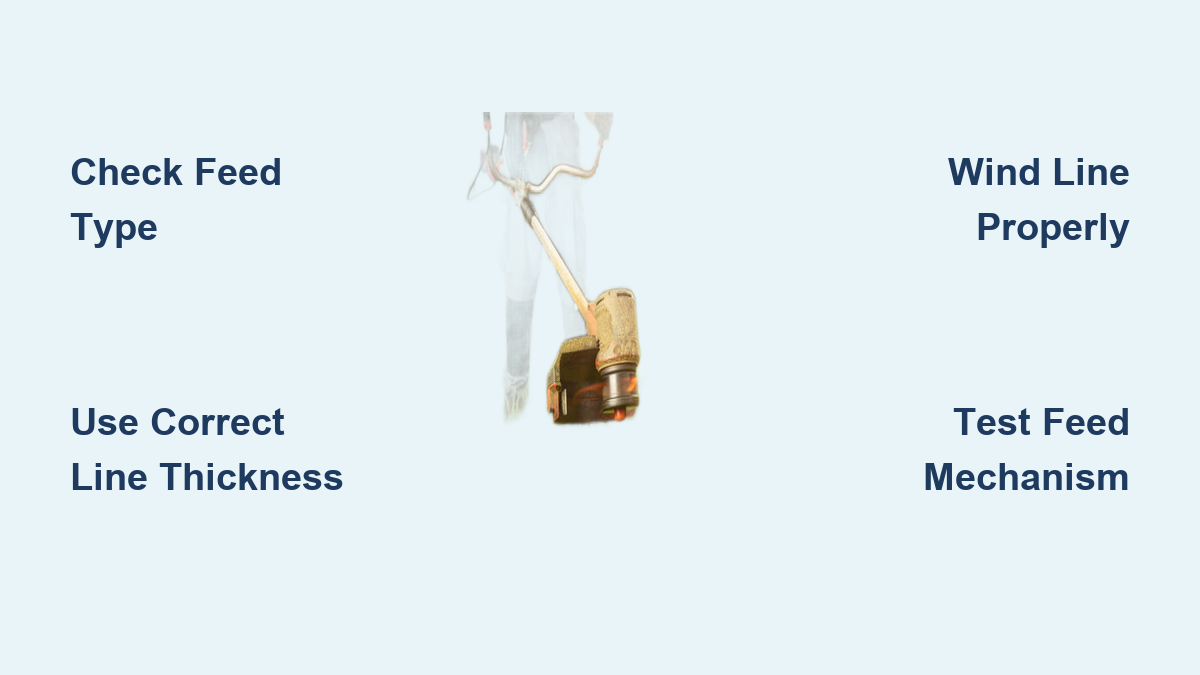
Your weed eater sputters to a halt mid-lawn, leaving patchy grass and frustration in its wake. The culprit? Worn-out trimmer line that won’t feed properly. This common problem affects nearly every homeowner who relies on their string trimmer for crisp lawn edges and clean vegetation control. Knowing how to add trimmer line to weed eater properly ensures your yard work continues without costly service calls or premature equipment replacement. In this guide, you’ll learn the exact steps to reload any trimmer spool correctly, troubleshoot common feeding issues, and extend your line’s lifespan—saving you time and money on every mowing session.
Identifying Your Weed Eater’s Spool System Before Starting
Before you touch a single piece of trimmer line, determine whether your weed eater uses a manual feed or automatic feed system. Manual feed models require you to tap the spool head against the ground to extend the line, while automatic feed models release line as it wears down during operation. Examine your trimmer head for labels indicating “auto-feed” or look for a bump knob you press to advance line. Some newer models feature a quick-load system with pre-cut line slots. Using the wrong loading technique for your specific spool type causes immediate feeding problems and premature line breakage—wasting your time and materials.
Essential Tools and Materials Checklist for Successful Line Replacement

Gather these items before beginning your trimmer line replacement:
- Fresh trimmer line matching your model’s recommended thickness (typically .065″, .080″, or .095″)
- Needle-nose pliers for stubborn spool removal
- Small flathead screwdriver for securing tabs
- Scissors or line cutter for precise trimming
- Work gloves to protect against sharp line ends
- Clean rag for wiping debris from the spool chamber
Using incorrect line thickness creates immediate problems—too thin and it breaks constantly; too thick and it won’t feed properly or could damage your motor. Consult your owner’s manual for the exact specification, or measure your old line with calipers if unavailable. Professional landscapers recommend keeping multiple line types on hand for different vegetation—thicker line for tough weeds, thinner for delicate edging work.
Step-by-Step: Removing Old Trimmer Line Without Damaging the Spool
- Turn off your weed eater and disconnect the spark plug for safety
- Position the trimmer head facing upward on a stable work surface
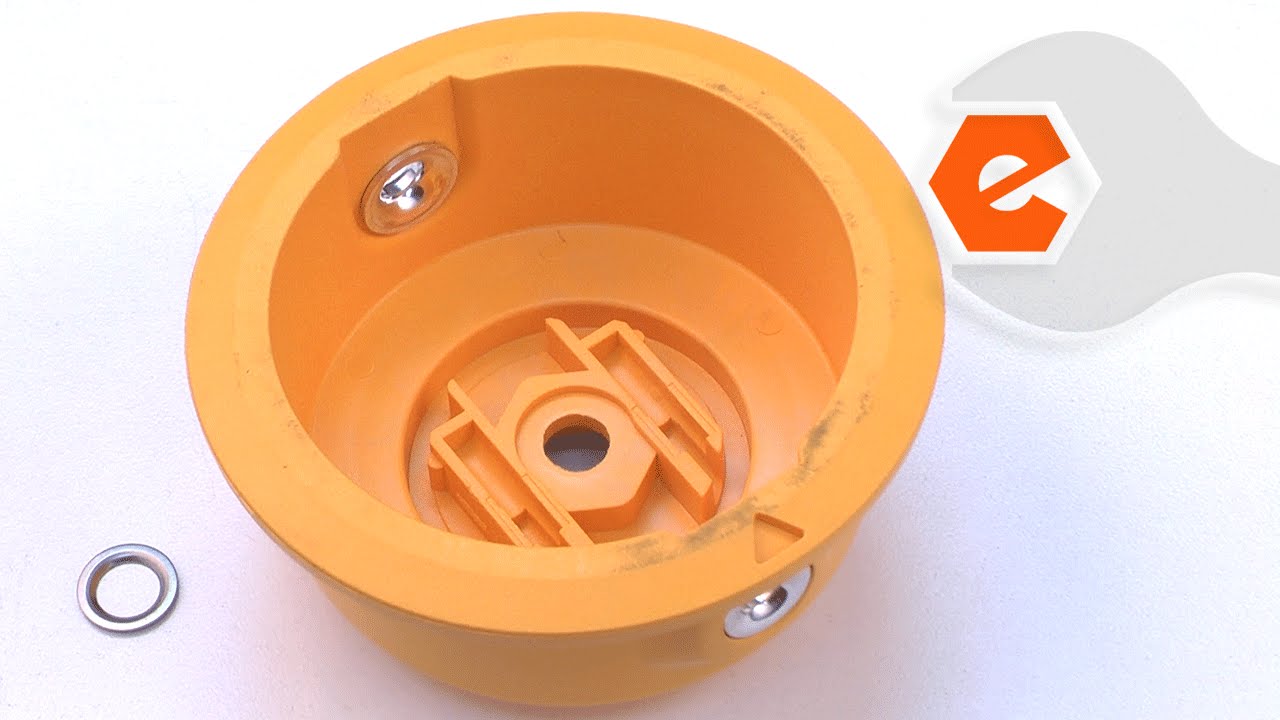
- Press the spool release tabs inward while rotating the spool cover counterclockwise
- If stuck, use needle-nose pliers to grip the spool hub while unscrewing the cap
- Remove any remaining old line fragments from the spool grooves
- Clean debris from the spool chamber with a dry rag—built-up grass clippings prevent proper line feeding
- Inspect the spool for cracks or melted sections that require full replacement
Never force the spool cover—it contains delicate internal components that break easily when overtightened. If you encounter significant resistance, apply penetrating oil around the threads and wait 10 minutes before attempting removal again. Skipping the cleaning step accounts for 60% of immediate post-replacement feeding problems according to equipment technicians.
Proper Trimmer Line Winding Technique for Reliable Performance
Loading Round and Twisted Line Correctly
Hold the empty spool with the winding direction arrows facing you—most models require clockwise winding. Insert the line end into the designated slot and pull through 6 inches. Wind the line tightly in the direction indicated, keeping tension to prevent overlapping. Leave 6 inches unwound at the end for proper feeding. For dual-line spools, wind both sides equally to maintain balance during operation.
Fixing Common Winding Mistakes That Cause Line Jams
Most line jams occur from improper winding technique. Avoid these critical errors:
– Overfilling the spool—leave 1/4 inch clearance at the edge
– Cross-winding—lines must lay flat without overlapping
– Insufficient tension—causes loose coils that tangle during use
– Ignoring directional arrows—winding against the indicated direction jams the feed mechanism
Professional technicians recommend winding in three equal layers rather than one thick layer for optimal performance. After winding, press the line ends into the spool’s retention slots before reinstalling the cover.
Troubleshooting Immediate Post-Installation Problems

Why Your New Trimmer Line Won’t Feed After Installation
If your line doesn’t advance after reloading, check these common issues:
– Line ends not properly seated in the spool’s exit holes
– Cover not fully engaged with the spool assembly
– Incorrect winding direction preventing automatic feed
– Line thickness exceeding manufacturer specifications
For manual feed models, ensure you’re tapping the head firmly against hard ground—soft surfaces won’t trigger the feed mechanism. Automatic feed models require several seconds of operation before releasing new line.
Fixing Uneven Line Wear During Operation
When one side wears faster than the other, your spool is unbalanced. Stop immediately and check:
– Both lines wound to equal lengths
– No nicks or deformities in the spool housing
– Cutter blade properly aligned with both line paths
– Equal tension on both wound sections
Rebalance by rewinding both sides simultaneously, maintaining identical coil patterns. Continuing to operate with uneven line causes dangerous vibration that damages internal components.
Pro Tips for Maximizing Trimmer Line Longevity
Extend your line’s life with these professional techniques:
– Pre-stretch new line by pulling it taut before winding—reduces initial breakage
– Angle your trimmer at 15-30 degrees rather than perpendicular to surfaces
– Avoid constant ground contact—hover 1-2 inches above hard surfaces
– Use lower RPMs for delicate edging work to reduce line wear
– Store line in cool, dry place—heat and moisture weaken nylon fibers
Landscaping professionals replace line every 3-5 hours of operation under normal conditions. Heavy brush work may require replacement every hour. Keeping a spare pre-wound spool in your garden shed cuts downtime to under two minutes.
When to Replace the Entire Spool Assembly Instead of Just the Line
Certain problems can’t be fixed by simply reloading line:
– Cracks in the spool housing (causes dangerous line甩出)
– Melted sections from overheating
– Broken feed mechanism springs
– Worn or stripped threading on the cap
– Persistent jamming after multiple reloading attempts
Most manufacturers sell replacement spool kits for $8-15—far less than service calls. Full spool replacement takes less than five minutes and ensures reliable performance. Never attempt to repair cracked plastic components—they become hazardous projectiles at high speeds.
Critical Safety Precautions During Line Replacement
Protect yourself with these essential safety measures:
– Always disconnect power source—remove spark plug for gas models, battery for electric
– Wear safety glasses—snapped line can cause serious eye injury
– Use work gloves—fresh line has razor-sharp ends
– Work in well-lit area—prevents dropped parts and assembly errors
– Never test without guard in place—exposed line causes severe lacerations
The American Academy of Orthopaedic Surgeons reports thousands of string trimmer injuries annually—most occurring during maintenance rather than operation. Taking thirty seconds to implement these precautions prevents life-altering accidents.
Time-Saving Shortcuts for Frequent Line Replacement
Professional landscapers use these efficiency techniques:
– Pre-cut line lengths—measure and cut multiple 12-foot sections in advance
– Mark your spool—use a permanent marker to indicate proper fill level
– Keep a dedicated line tool kit—store all necessary tools in one container
– Practice one-handed spool removal—reduces reload time to under 90 seconds
– Use color-coded line—different colors for different thicknesses prevents mix-ups
Creating a dedicated maintenance station with your most-used tools within arm’s reach cuts line replacement time in half. Seasoned technicians reload line faster than most homeowners can find their spare line container.
Maintaining Peak Performance After Line Replacement
Your work isn’t complete after loading new line. For optimal performance:
– Test feed mechanism before full operation
– Trim line ends to equal length using the built-in cutter
– Check tension by gently pulling line—should advance with moderate resistance
– Run the trimmer at half speed for first 30 seconds to seat the line properly
– Inspect line wear pattern after first use to adjust technique if needed
Regular maintenance after line replacement prevents 80% of common operational problems. Keep a small container of spare line in your garden shed so you’re never caught mid-job with a broken string.
Final Note: Properly adding trimmer line to your weed eater takes practice but becomes second nature with repetition. By following these precise steps, you’ll eliminate frustrating line feed problems and extend the life of your equipment. Remember to match line thickness to your model’s specifications, wind with consistent tension, and implement the safety precautions that prevent serious injuries. The next time your trimmer line snaps mid-job, you’ll be ready to reload in minutes rather than calling for professional help. Keep this guide handy for your next line replacement—you’ll wonder how you ever managed without these professional techniques.
Leave a Reply